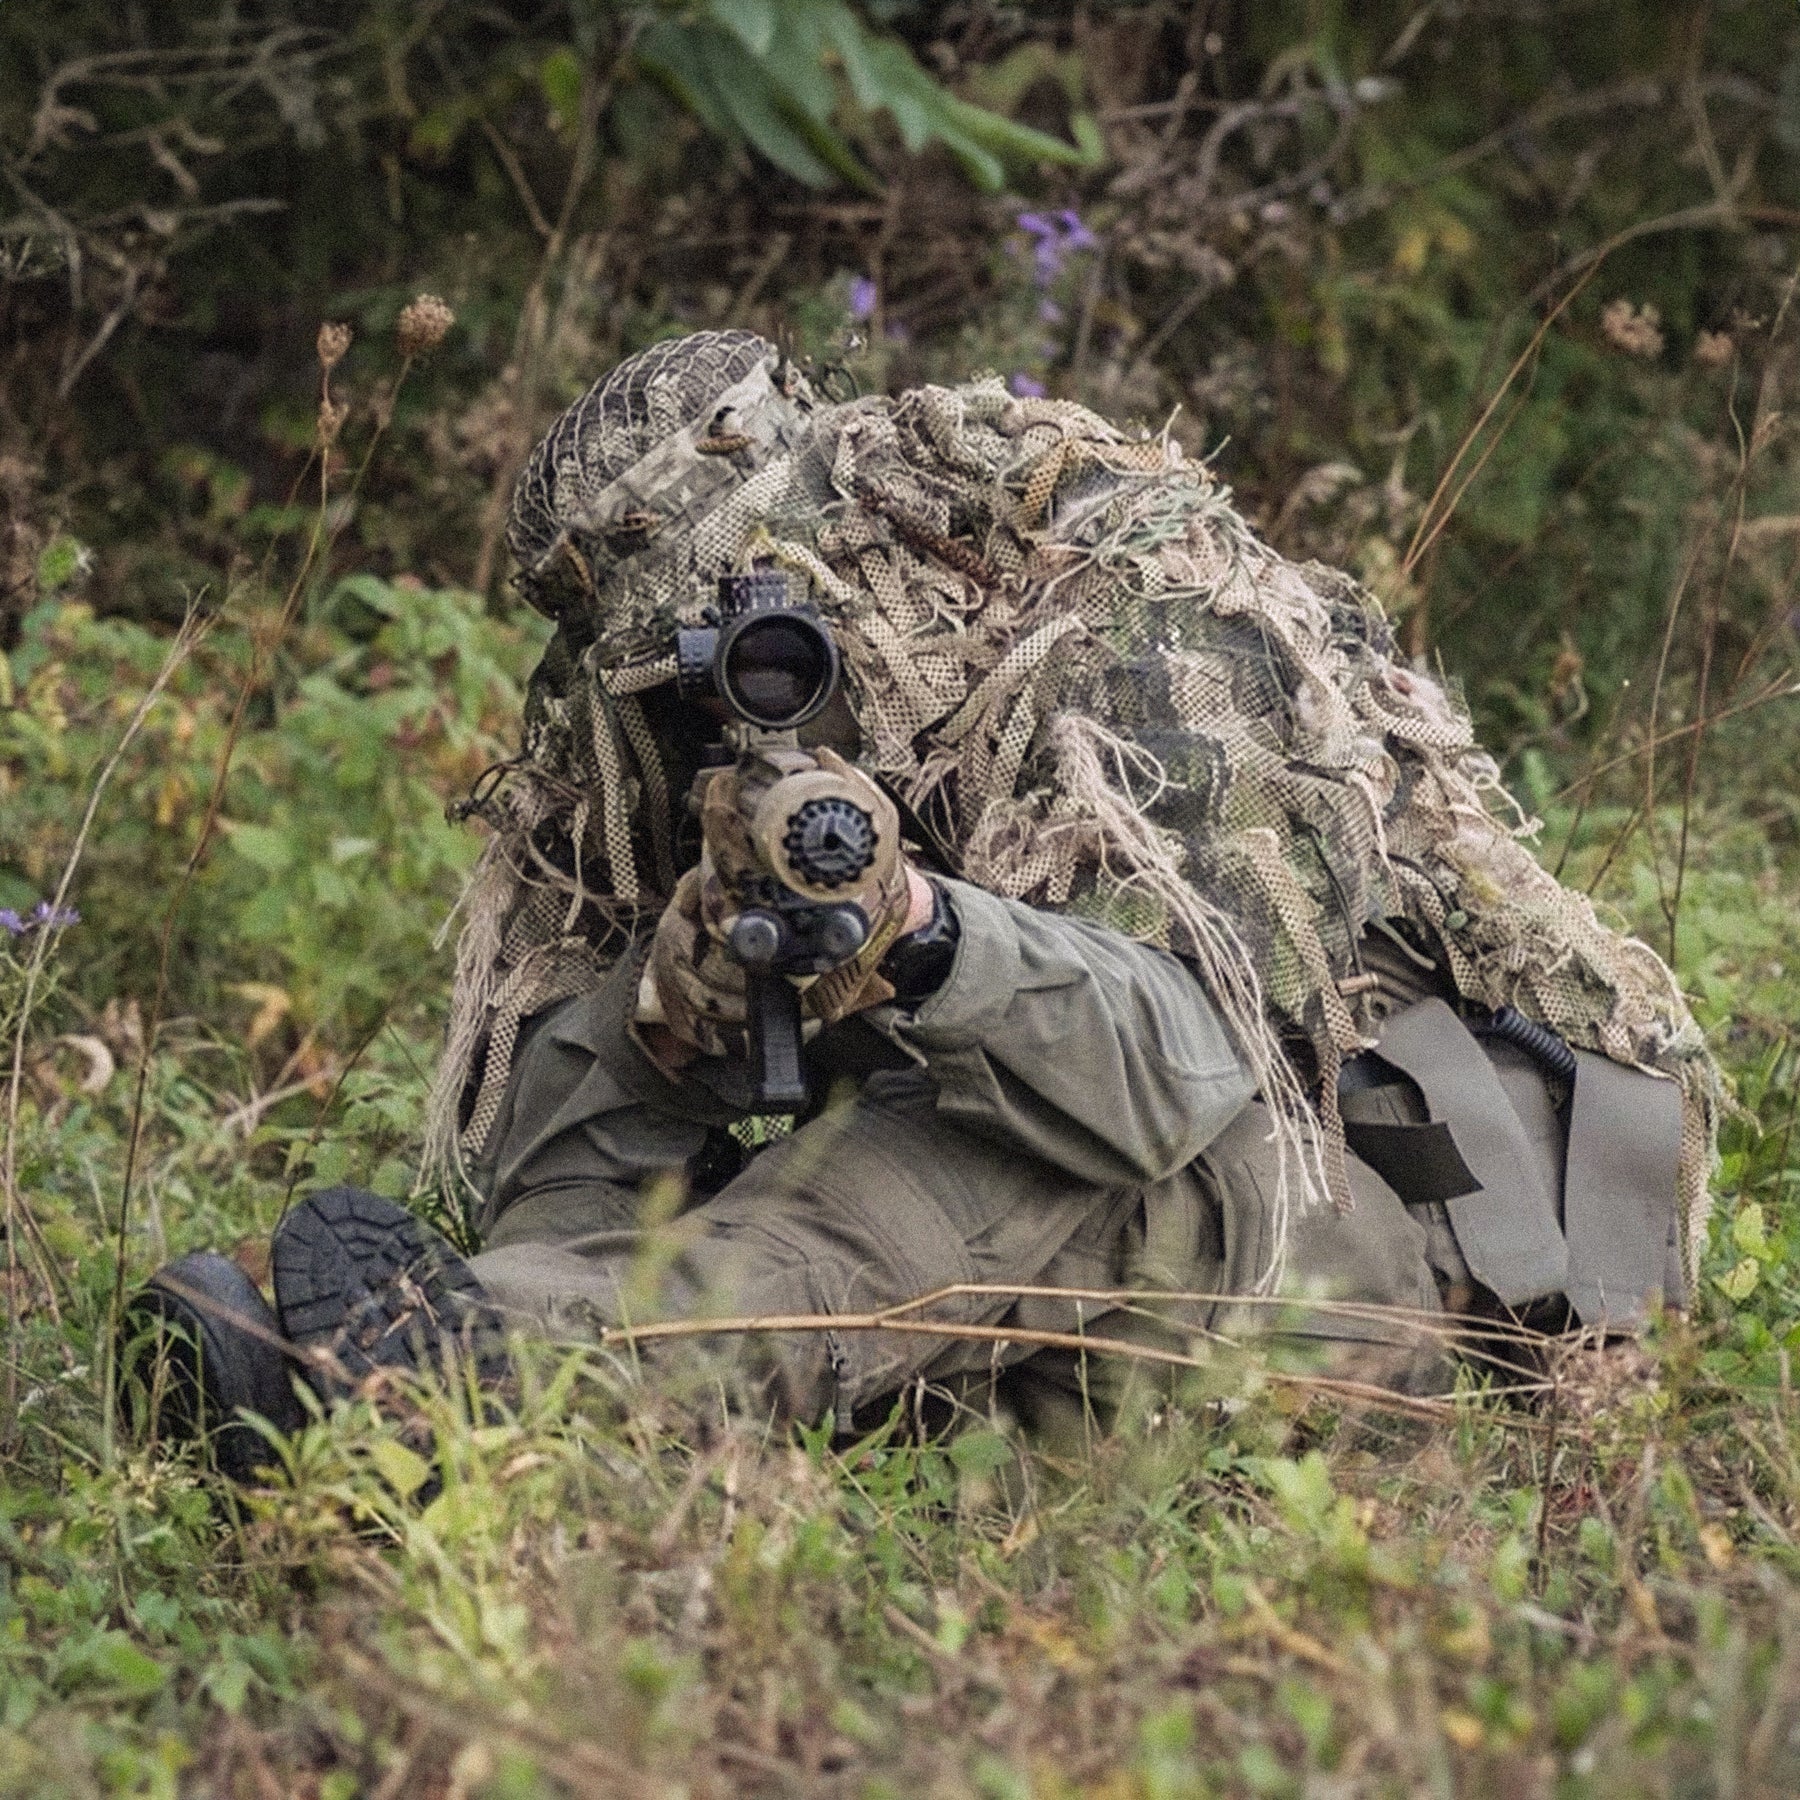
How to set up your Badger Hood
This video provides a step-by-step guide on how to set up a Badger Hood. The video walks viewers through the process of attaching toggles to the hood and cape, using a threading needle and paracord. It also demonstrates how to attach the hood and cape to the shoulder piece.
Welcome in the short video you will learn how to set up your new Badger Hood
Let's start
With your package you will receive the following a kit with all the cords and buckles the hood the shoulder piece and the cape
First take out the Paracord and toggles from the bag will also need the handy threading
needle. Using the threading needle thread the Paracord through both holes of the toggle like Zone
Repeat this step 16 times on the hood and the cape pieces you will find large threading holes for the Paracord where you can see small holes in between threading holes is where you will need to attach your paracord with toggles there will be eight on the hood and eight on the cape
Now you will need to tie a knot on each paracord to make sure you have perfect spacing use the included extra toggle as a spacer as shown here on the cake
The final steps are to attach the hood and Cape to the shoulder piece line up the middle of the hood with the middle of the shoulder piece you will see a small triangle notch on
the Hood part and a split on the shoulder piece that indicates the middle on the shoulder piece there are slots to thread in the toggles the recommended slots to use are indicated by a small dot on the laser cut fabric
Repeat the same step for the cape making sure the shoulder piece lays flat on top of the cape


